
Here is a Paper Piecing Tutorial you can reference any time you are doing a block. Everything shown here can be applied to any paper pieced block.
There are 47 pictures! I think I covered it all.
Things to remember:
After you sew each seam be sure to trim the seam allowance to 1/4".
Always cut your fabric larger than you think (-:
Press often to keep your work flat
Your fabric should always be on the white side of the paper and you are always sewing on the colored section of the pattern.
When you print out your pattern make sure it is actual size.

If you have ever thought about using a light box, I found this on Amazon for $22.00 Tiktek is the brand. You don't need one but I use it for a lot of things.

We are doing this block today. I will go almost step by step and hopefully it will become more clear to you. The more you do this, the easier it gets. I will be including paper pieced blocks in our Sampler Sew Along as often as I can for you to try.

First take your pattern and cut off the extra paper, it will be in your way. Make sure to NOT cut on the dashed line.

Take something like a book mark and score all the lines on the pattern. They do not need to be perfect. They are used as a guide for you to follow. Just press the edges over the edge of the bookmark.

Make sure your fabric is neatly pressed. Wrinkles do not help for acurate sewing.

Pick out your fabrics. For this demo I will use the exact colors on the pattern so you will not be confused. The MOST important part about cutting out your fabric is to cut the pieces much larger than you think. I would say 3/4' to 1" larger at least. Repeat to yourself "I am not wasting fabric".
If you try and cut exactly you will be picking out all the time and get frustrated.

Here is an example of a much larger piece than it looks like I need.

See how wide I made this? It will allow for any moving of the fabrics.

We will start with piece #A1 which is pink. Number A2 is a window and I am using a white print. See how large I cut the piece? You will thank me at some point, I promise.

If you want you can copy the lines on the white side of the paper for reference. I think that takes a lot of time but do what works for you.

Here is piece #A1 placed on the white side of the paper, covering spot A1 on the pattern.

Next I am placing #A2 a white fabric (window) on the pink fabric, right sides together. If you want you can put a pin in there to hold them together.

I have flipped it over so you can see all my lines are covered. This is on my light box. See how much extra fabric I have?

This is the part that I think is the most confusing for everyone. Your fabric should be on the bottom (white side of paper)and you are sewing on the line of the pattern (colored side of paper).

Starting a little bit before the line sew and go past the line as shown above.

Once it is sewn, flip it over and press the white out. I do use my iron to keep it flat. Finger pressing works too. Trim the seam between A1 and A2 to 1/4" if needed.

Next we are sewing A3. It is very skinny but I am still using a large piece of fabric.

Place the A3 pink fabric along the edge of the white window fabric. Pin if necessary.

Sew along the A2 and A3 line as you did with the last seam line.

It will look like this when you flip it over, and press A3 down flat.

After ever sewn seam be sure to check your seam allowance and trim to reduce bulk.

Number A3 trimmed and readt to add the next #A4 window fabric.

Finish sewing #A1 through #A5 as we did above. It will look like this when complete.

Next we will sew A6.

Flip back the paper on the A6 line and trim the extra fabric. Do this with every piece.

Always aim for a 1/4". It is not critical but try.

Next take piece A6 (pink) and make sure you have a large enough piece.

Sew it down on the line and flip over as shown above. Press well and check to make sure it covers all the lines.

Next is the green door #A7. Place it along the edge, flip and sew on the line. You may use a pin to hold things in place at any time. I don't use them because they get in the way.

Trim the seam allowance and press in place.

Next is A8 pink, place it along the edge, pin, flip and sew.

Fold back on the line of #A9 above the windows and trim the excess fabric.

Next we will continue on in the same fashion for the top of the house. Pin, flip and sew #A9.

It should look like this. Are you getting the hang of it now? If you notice on the left I was very close to not having enough fabric to cover my edge. I just made it! Make sure all your edges are covered.
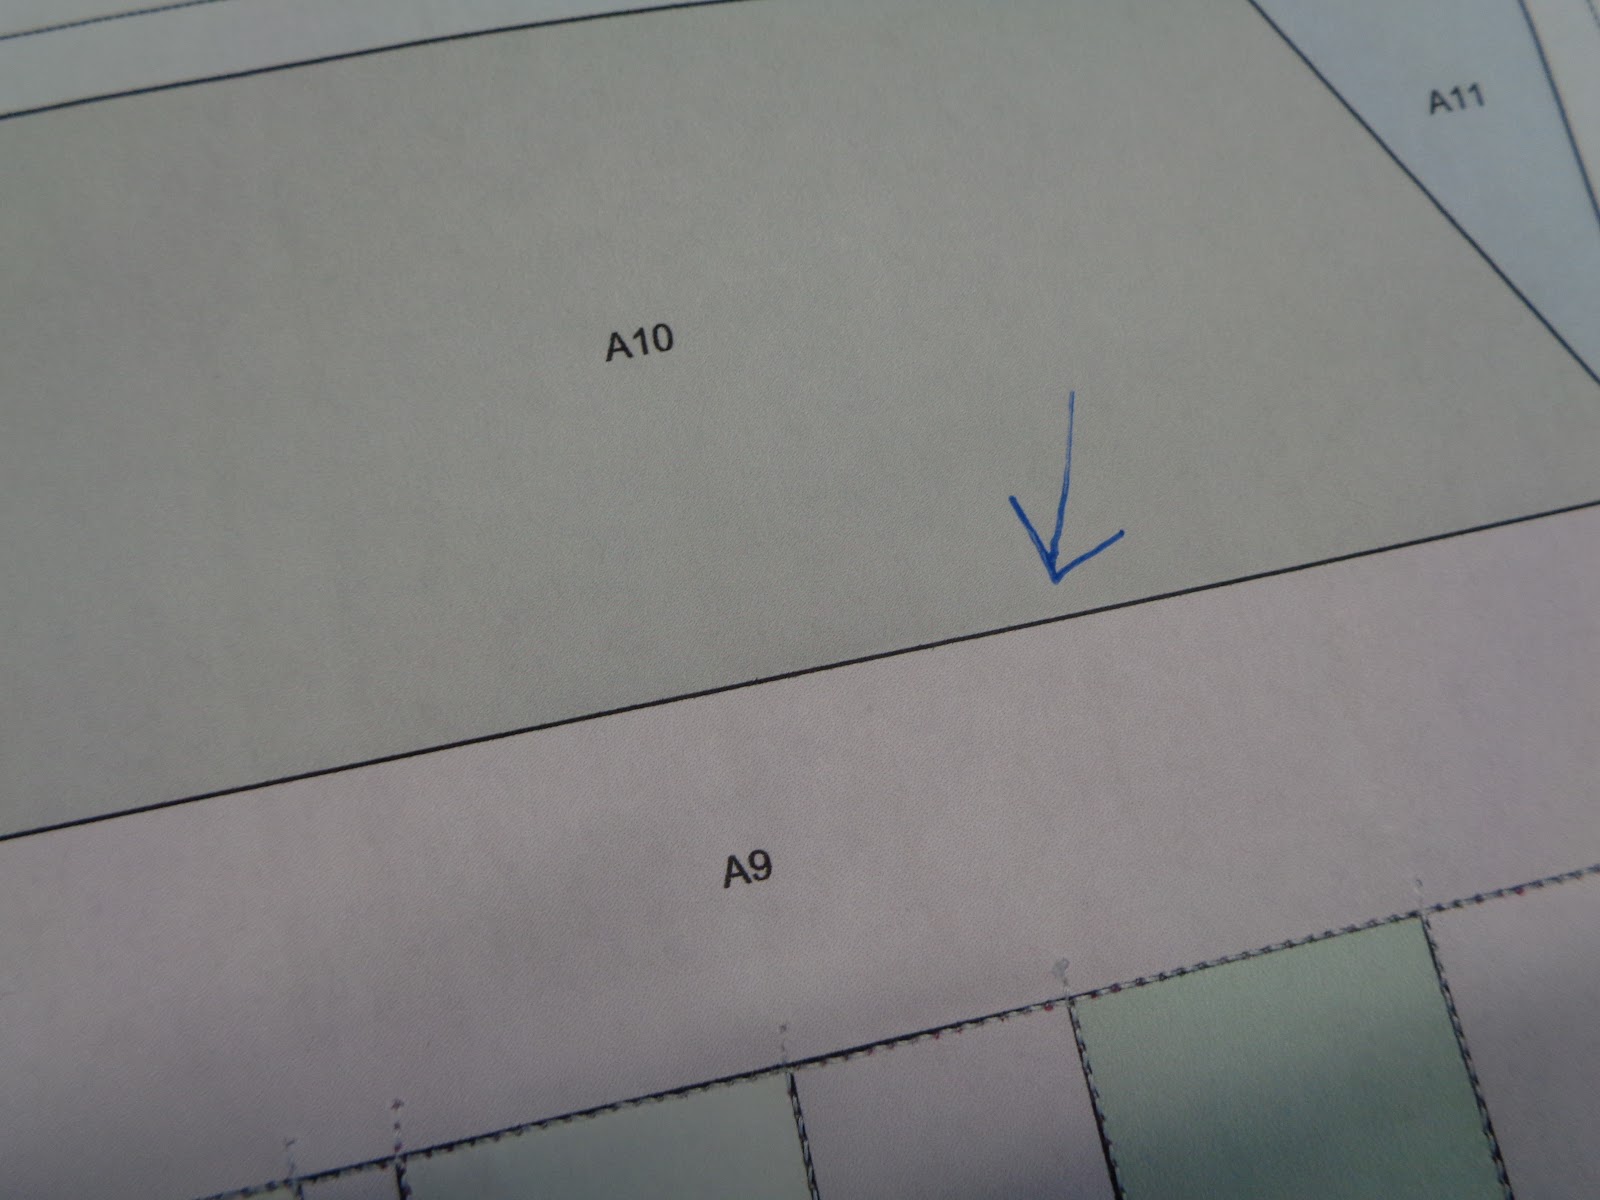
The next section is #A10, the roof.

Make sure your farbic is large enough to cover the entire roof section. Even the triangles at the top edges.

Place your fabric on the line between #A9 and #A10 and sew. Flip and press so it looks like this.

Flip back the corner triangles #A11 as shown above.

Trim this edge leaving a 1/4" as shown above.

It should look like this when you turn it over. Do the other side also, #A12.

Cut a large rectangle for #A11 and #A12 (DO NOT CUT A TRIANGLE) make sure it is large enough to cover this entire area. Pin, flip, sew on the line.

Turn it over and press it to the outside edge. See above. Do the other side the same way.

It should look like this. Be sure the fabric covers all the edges.

We are coming down the home stretch! Cut your bottom piece for the "grass" #A13. Again make sure the piece covers all the edges.

Your finished block should look similar to this. Press it well and make sure all the edges are covered.

Turn the block over and trim. Place your ruler in the solid line using the 1/4" mark. Don't be worried if it is not on the dash line exactly. It is more important for it to be a 1/4" from the solid line.

I hope this is helpful and let me know if you have any questions.
Kelly Meanix --- kellymx@aol.com

No comments:
Post a Comment